いつも画像はChatGPTに頼んでちゃっちゃと生成してもらってるのですが、今日はローカルで実際にモデルを動かして画像生成してみます。メリットはChatGPT4のやり取りを一回分減らせるくらいで他は特になしです。クレジットがChatGPT4より多いChatGPT4oが使える今となってはメリットはほぼ皆無!でもローカルで試すのはやっぱりロマンなのでやってみようと思います。
SD-Turboとは
We’re on a journey to advance and democratize artificial intelligence through open source and open science.

We introduce Adversarial Diffusion Distillation (ADD), a novel training approach that efficiently samples large-scale foundational image diffusion models in just 1-4 steps while maintaining high image quality. We use score distillation to leverage large-scale off-the-shelf image diffusion models as a teacher signal in combination with an adversarial loss to ensure high image fidelity even in the low-step regime of one or two sampling steps. Our analyses show that our model clearly outperforms existing few-step methods (GANs, Latent Consistency Models) in a single step and reaches the performance of state-of-the-art diffusion models (SDXL) in only four steps. ADD is the first method to unlock single-step, real-time image synthesis with foundation models. Code and weights available under https://github.com/Stability-AI/generative-models and https://huggingface.co/stabilityai/ .

- 2023年11月にstability.aiから発表された論文
- 拡散モデルの生成精度とGANの高速生成を組み合わせたいという思想
- Adversarial Diffusion Distillationという蒸留方法を用いることで、denoiseの効率を上げている
- 具体的には、学習済拡散モデルを教師モデルとし、GANの仕組みを利用して生徒拡散モデルにスコア蒸留している
- このとき生徒モデルの重みも学習済みモデルの重みで初期化する。
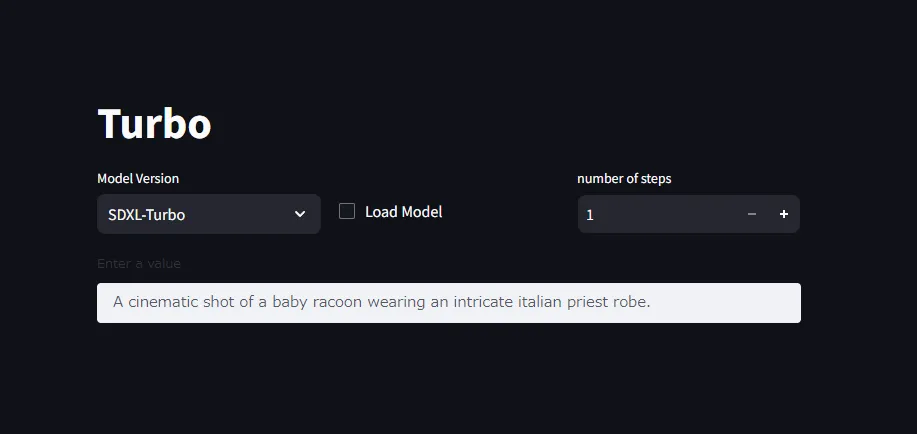
さっそく公式デモを試してみる
以前Stable Video Diffusionを試した記事と同じリポジトリのため、手順もほぼ同じ感じです。(Dockerを使用した方法)

>-
必要なもの
- Docker(インストールしておく)
- NVIDIAのGPU(おそらく実行に必要)
- CUDA(もしかしたら必要)
- コマンドラインが叩けること
作業内容
- dockerイメージを作成する
- コンテナ作成時にデモが自動で実行されるようにします
- コンテナを立ち上げる(デモを実行する)
- Webアプリケーションにアクセスする
1. dockerイメージを作成する
FROM python:3.10.14-bookworm
# clone repoWORKDIR /homeRUN git clone https://github.com/Stability-AI/generative-models.git .
# install requirementsRUN pip install --no-cache-dir -r ./requirements/pt2.txt
# additional requirements explained in repoRUN pip install streamlit-keyup
# Reinstall OpenCV using apt due to an error with libGL.so.RUN apt -y update && apt -y upgrade && apt -y install libopencv-dev
# キャッシュ削除RUN apt-get autoremove -y &&\    apt-get clean &&\    rm -rf /usr/local/src/*
# weightのダウンロードと配置# weight for SDXL-turboRUN wget https://huggingface.co/stabilityai/sdxl-turbo/resolve/main/sd_xl_turbo_1.0.safetensors -P ./checkpoints# weight for SD-turboRUN wget https://huggingface.co/stabilityai/sd-turbo/resolve/main/sd_turbo.safetensors -P ./checkpoints
# VariablesENV PYTHONPATH = .EXPORT 8501
# 起動コマンドCMD ["streamlit", "run", "scripts/demo/turbo.py"]
2. コンテナを立ち上げる
以下のコマンドでコンテナを立ち上げてください
docker run --rm -i -p 8501:8501 --gpus all sdxl-image3. Webアプリケーションにアクセスする
コンテナの立ち上げまで正常に完了していれば、ブラウザでhttp://localhost:8501にアクセスすることででデモにアクセスできるはずです。
最後に
あとはModel Versionを好きな方にしてLoad Modelすればvalueを元に推論を始めてくれます。ステップを増やせば精度が良くなります。
自分の環境ではSDXL-Turboのモデル読み込みができませんでした(モデルのロード中に勝手にプロセスがKillされる)。PCスペックが低い方はSD-Turboのみ試すのが良いかと思います。
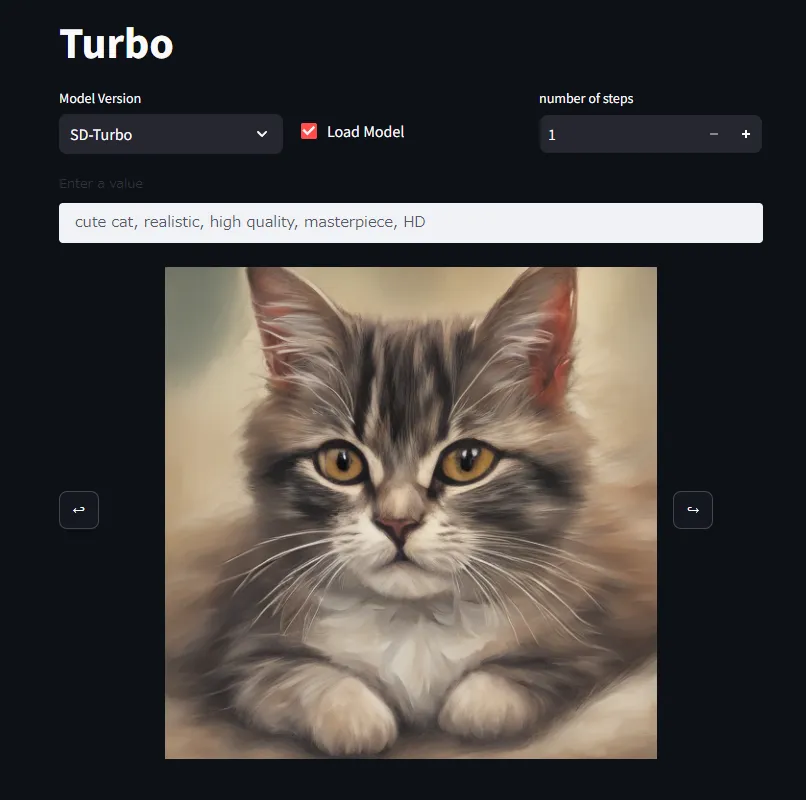
使用してみた所感としては、
- 蒸留を使用してるモデルなので実行速度は割かし速い印象。低スペックでも数秒で出てくれるのが嬉しい。
- 精度も3,4ステップだけにしては希望に近い結果になってるかなという感想。
[追記: 20240820] 公式デモは一般にメモリ効率などのパフォーマンスが悪いため、ComfyUIやwebuiなどを使用して実行することを推奨します。