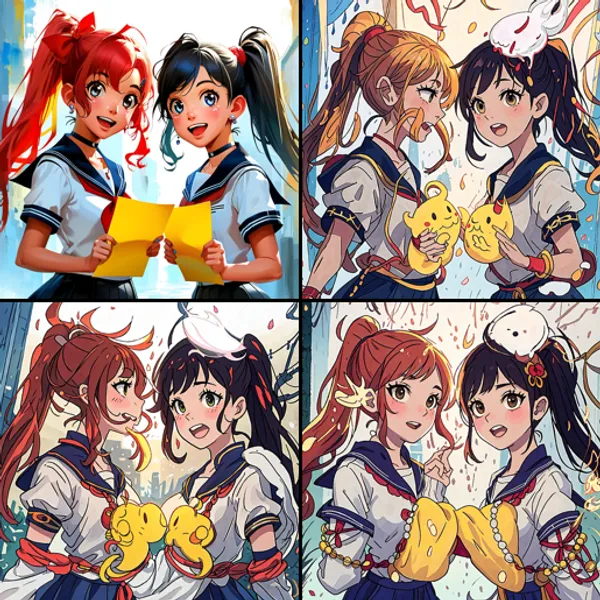
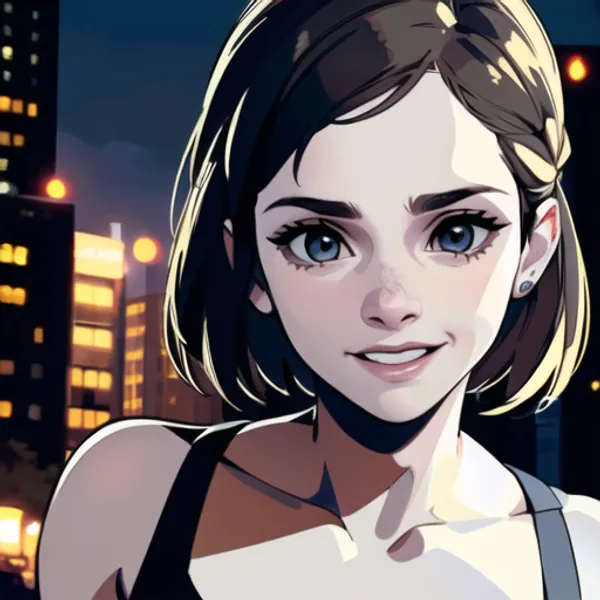
When you start exploring the world of AI image generation, the first wall you’ll likely hit is “resolution.” Generating images at standard sizes often results in blurry details, and the results can look quite disappointing when enlarged.
This is where ESRGAN (Enhanced Super-Resolution Generative Adversarial Networks) comes in. ESRGAN is a deep learning-based Super-Resolution model that can take a low-resolution image and output a high-resolution version while maintaining sharp details.
In this article, I’ll walk you through the specific steps to integrate ESRGAN into your ComfyUI workflow to upscale your generated images quickly and effectively.
ESRGAN vs. Hires.fix: Which One to Use?
While “Hires.fix” is a popular upscaling method, it works fundamentally differently from the Image-space Upscale (ESRGAN) we’re discussing here.
- Hires.fix (Latent-space Upscale): This method increases the resolution in the Latent Space and performs a second pass of denoising. It doesn’t just enlarge the image; it adds new details. However, it consumes significantly more VRAM and carries the risk of slightly changing your composition.
- ESRGAN (Image-space Upscale): This process works on the decoded “final image” through a neural network. It’s ideal when you want to increase resolution without changing the original composition or when you prioritize faster generation speeds.
If your composition is already perfect and you just want it to be “crisper,” ESRGAN is often the less stressful choice.
Implementation: Integrating into your Workflow
With ComfyUI, adding upscaling to your workflow is as simple as adding a single node.
1. Placing the Node
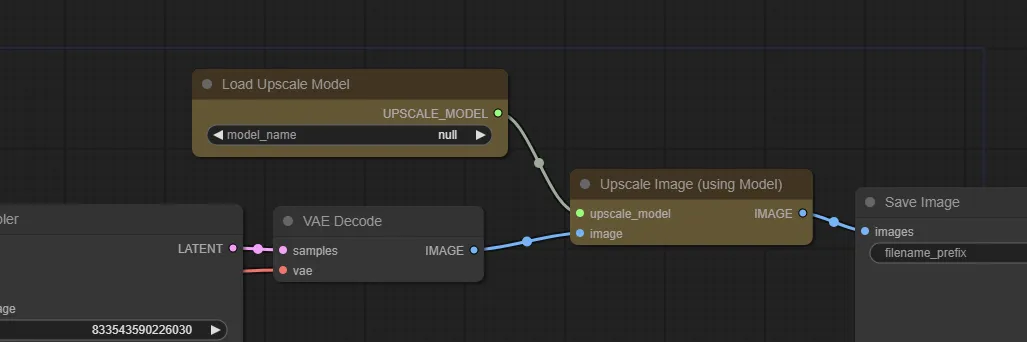
Place an Upscale Image (using Model) node so that it receives the image output from your VAE Decode node.
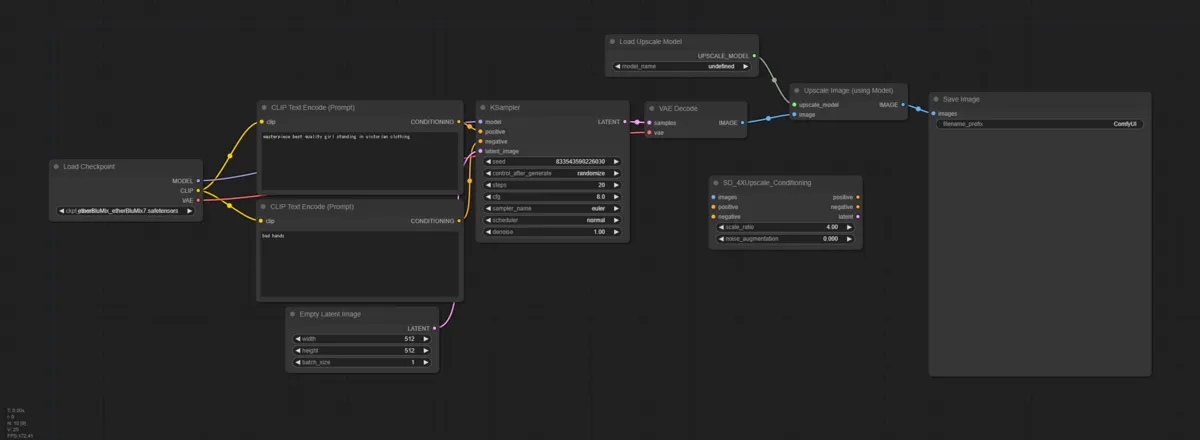
2. Setting Up the Models
To use ESRGAN, you’ll need the trained model files. Here are some highly recommended ones:
- R-ESRGAN 4x+: A solid, versatile standard.
- 4x-UltraSharp: Renowned for producing extremely clean results across both realistic and illustrative styles.
- 4x-AnimeSharp: Specifically tuned for anime-style images.
Download these models (usually in .pth format) and place them in the following directory:
ComfyUI/models/upscale_models
If you’re looking for these models, HuggingFace is a great place to start.
3. Execution
Select your chosen model in the Load Upscale Model node, connect it to the upscale_model input of the Upscale Image (using Model) node, and you’re ready to go.
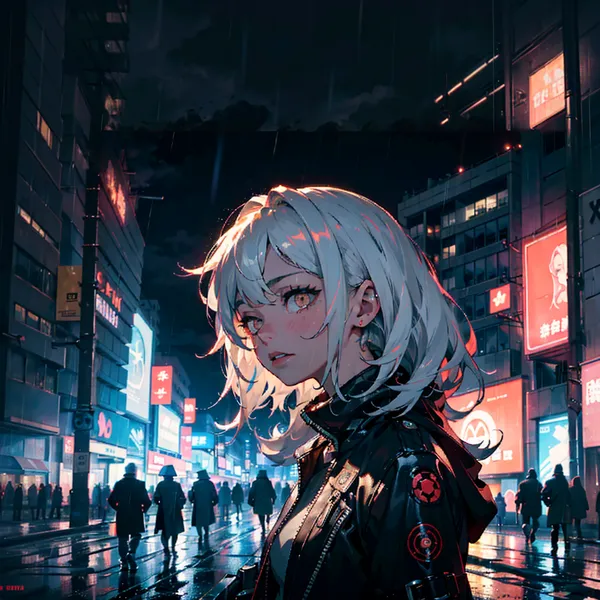
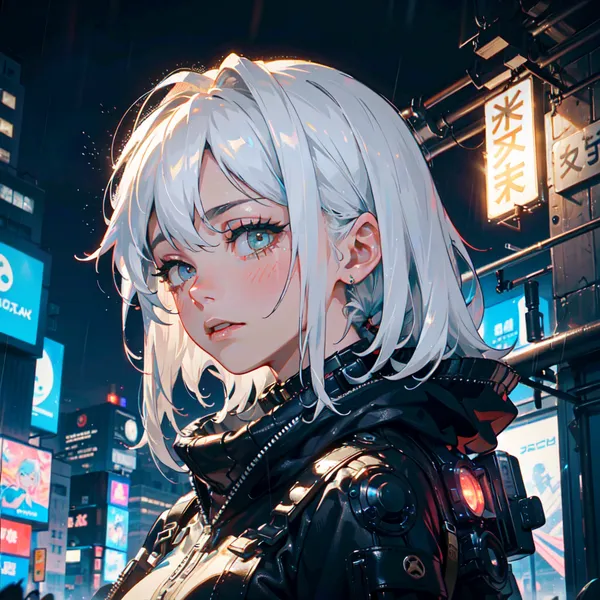
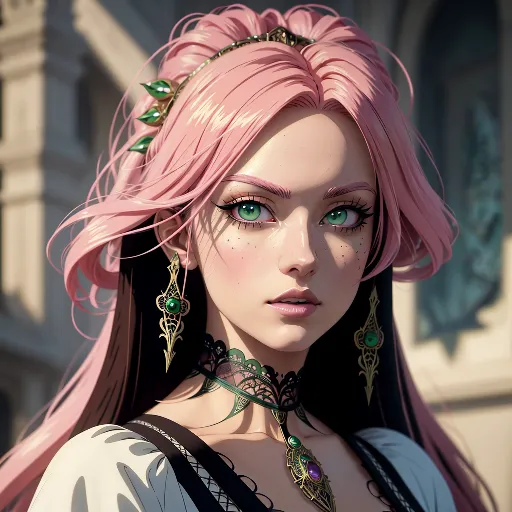
For instance, using 4x-Ultrasharp, a 512x512 image can be transformed into a 2048x2048 masterpiece in just moments.
Results Comparison
The difference is clear when you see the results side-by-side. While it doesn’t “re-draw” the image like Hires.fix, the edges become significantly sharper, and fine artifacts are cleaned up.

Conclusion: Finding the Right Balance
While Hires.fix might be the mainstream choice these days, the sheer simplicity and speed of ESRGAN are hard to beat.
My personal preference is to “use ESRGAN for quick batches to find the best composition, and then run Hires.fix or Ultimate SD Upscale on that specific seed value for the final polish.” It’s all about finding the balance that works for your project.
If you find your generated images are looking a bit “soft,” definitely give ESRGAN a try in your next workflow.
For more techniques related to image generation, check out the link collection below:

>-