Using Inpaint in Stable Diffusion, you can modify a specific part of an image or add entirely new elements to it while leaving the rest unchanged. The workflow masks the region you want to change, then generates new content for just that area using your text prompt as a guide. Because only the masked region is regenerated, you get precise control over which part of the image changes.
In this article, I explain the specific procedure for performing Inpaint with Stable Diffusion using ComfyUI.
Work Flow
1. Introduction of ComfyUI
Please refer to this article.

>-
2. Creation of Workflow
The yellow nodes are the ones I added.

Referencing the following:
https://comfyanonymous.github.io/ComfyUI_examples/inpaint/
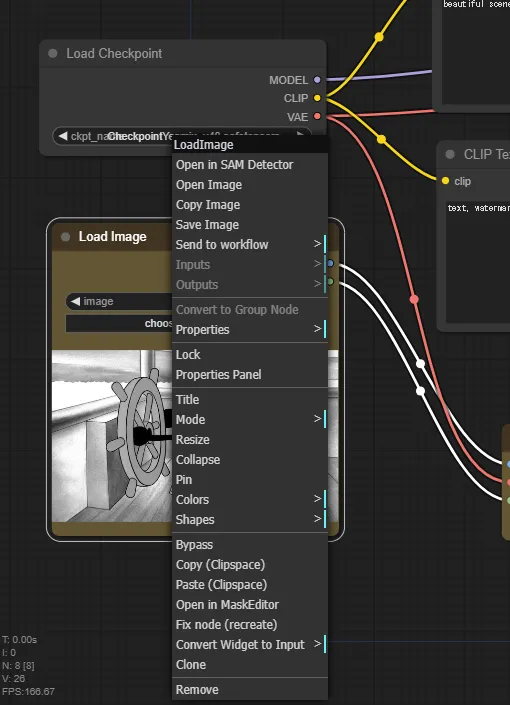
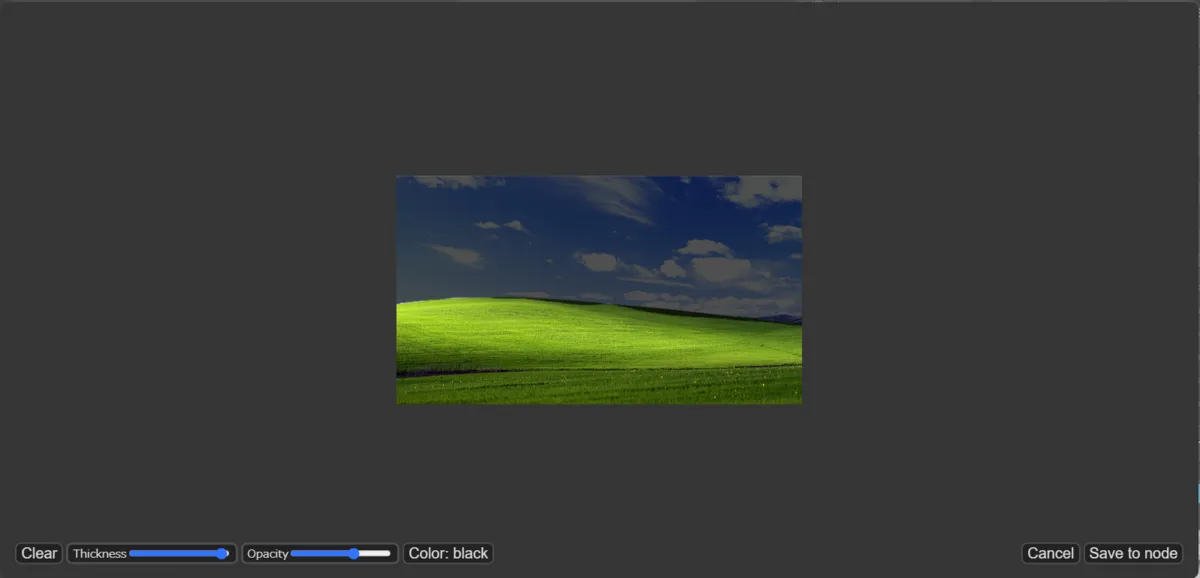
3. Creation of Mask
- Right-click
Load Imageand select the item calledOpen in Mask Editor. - Paint the part you want to mask black.
- Click
Save to nodeto finish.
Note: The default Mi*key subject had a style mismatch and the result didn’t turn out well, so I gave up on it.
4. Generate
Write what you want to generate in the masked area in your prompt, then generate.
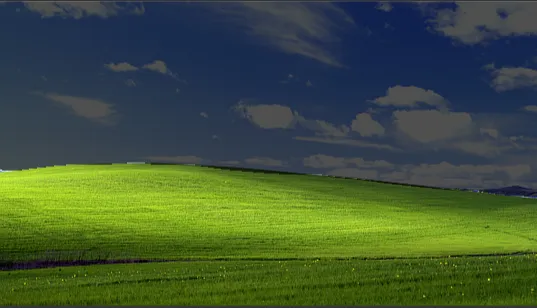
Generation Result
I masked only the sky of the famous Windows XP wallpaper.
Prompt:
apocalyptic scene, meteors falling, stars, colonies, numerous explosions, intense fire, smoke, numerous meteors, dramatic sky, destruction, detailed environment, high-quality, 4K, dynamic lighting, realistic textures, dark atmosphere, cinematic, depth of field, chaos, ruins, concept art, artstation, vibrant colors, embedding:DarkFantasy,
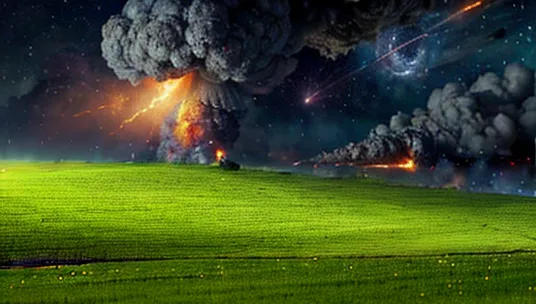
An image with a satisfyingly apocalyptic atmosphere was generated.
Conclusion
This time I explained how to perform Inpainting using Stable Diffusion. By mastering Inpaint, you can mask specific areas and add new elements to them, enabling a wide range of expressive possibilities. I hope this article serves as a useful reference for image editing with Stable Diffusion.
If you want to try other techniques related to image generation, please check out the link collection below.
>-