InstantID is an extension for Stable Diffusion that lets you fix the face of the generated character by providing a reference face image as input. In this article I explain how to use InstantID within ComfyUI.
Work Flow
1. Set Up ComfyUI
Set up ComfyUI and make sure it’s on the latest version if you already have it installed.

>-
2. Install Extension
Install the following extension.

Contribute to cubiq/ComfyUI_InstantID development by creating an account on GitHub.

3. Manually Install the Python Library
The Python library required by InstantID (insightface) does not install cleanly via the automatic process, so you need to install it manually.
Download the insightface wheel from the link below, then install it with pip along with the onnxruntime packages.
Contribute to Gourieff/Assets development by creating an account on GitHub.
python -m pip install (path to downloaded .whl) onnxruntime onnxruntime-gpuIf you’re using the standalone version of ComfyUI, replace python with the path to the Python binary. It should be located around here:
python-embeddeddirectory for ComfyUI StandaloneData/Packages/{Package Name}/venv/Scriptsfor StabilityMatrix
4. Download and Place Models
First, download and unzip antelopev2 and place it in ComfyUI/models/insightface/models/antelopev2. It can be obtained from either of the links below:
-
antelopev2.zipdrive.google.com
-
MonsterMMORPG/tools at main
We’re on a journey to advance and democratize artificial intelligence through open source and open science.
huggingface.co


Next, place the main InstantID model in ComfyUI/models/instantid:
Finally, add the ControlNet model to your ControlNet directory:
5. Import the Workflow
Use the provided example workflow to get started.
Contribute to cubiq/ComfyUI_InstantID development by creating an account on GitHub.
6. Generate
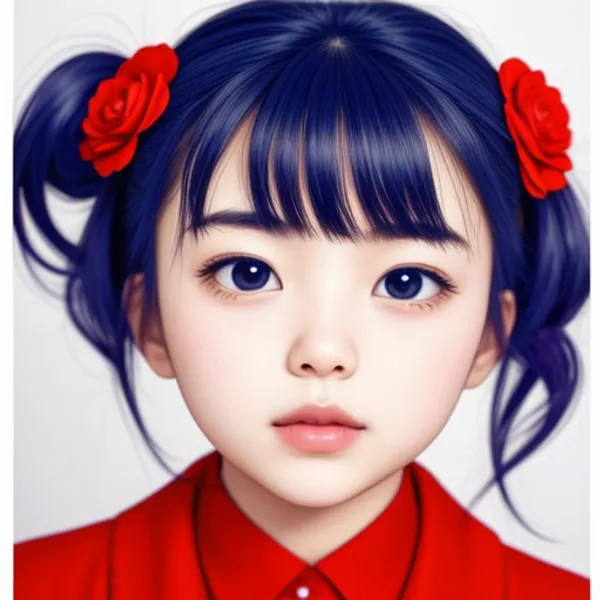
Set the model to the one you placed earlier, specify a face image and a prompt, then generate.
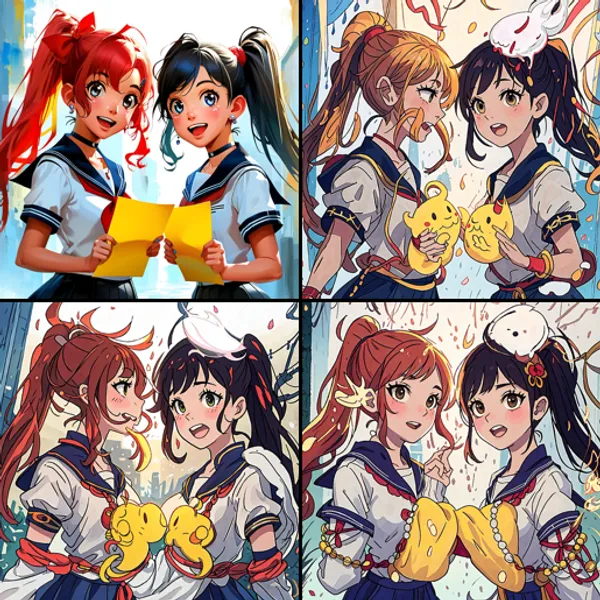
Generation Result
I used Animagine XL as the base model.


Conclusion
From the generation result, you can see that the output face closely follows the input face image. InstantID makes it possible to control which face gets generated, which significantly expands the range of what you can create. (Keep portrait rights in mind when using someone else’s photo.)
This example only uses InstantID on its own, but combining it with ControlNet apparently makes it possible to also control pose and composition. That gets into more advanced territory, so I won’t cover it here — but if you’re interested, check out the following article and workflow:
>-
Contribute to cubiq/ComfyUI_InstantID development by creating an account on GitHub.