I introduced the mechanism behind LoRA in this article:

>-
Now that I’ve learned how it works, this time I’ll show how to actually use LoRA in ComfyUI. I’ll also verify its effect through generation results and compare the differences between outputs.
Note: Training LoRA is not covered in this article.
Work Flow
1. Introduction of ComfyUI
Please refer to the following article for how to set up ComfyUI.
>-
2. Create Workflow
I’ll build on the default workflow so the structure is easy to understand.
- Initialize the workflow from “Load Default”
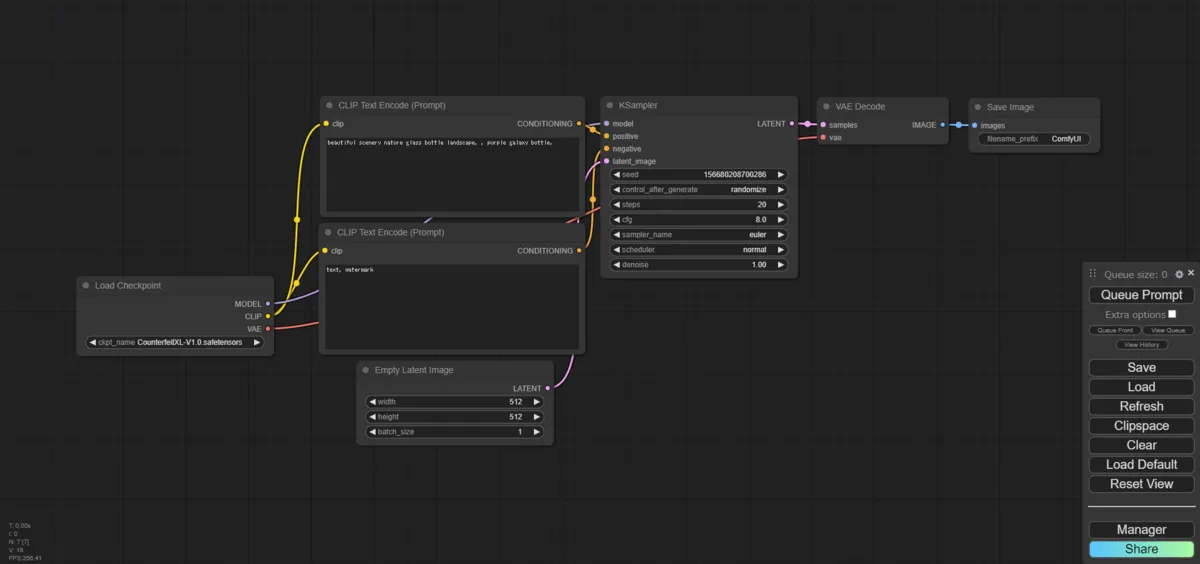
Initial Workflow - Add a “Load LoRA” node
Add "Load LoRA" node
3. Download Your Preferred LoRA
Download the LoRA you want and place it in ComfyUI/models/loras.
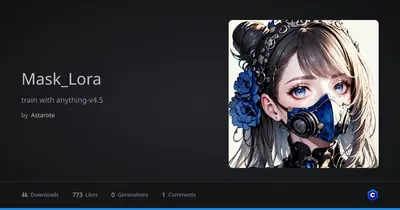
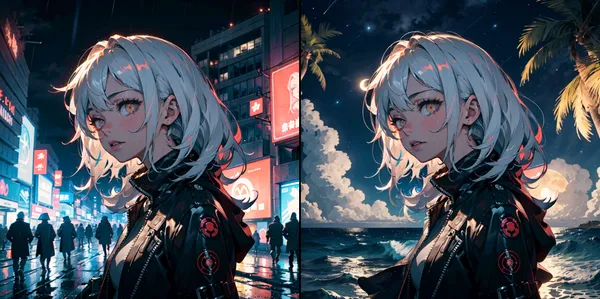
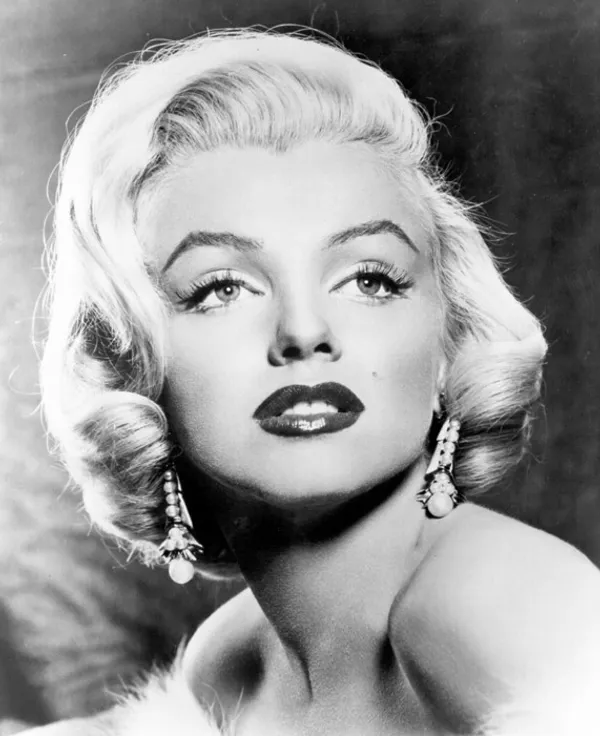
Girl with a mask / 面具少女 I run this lora with breakdomain_M2000 and GhostMix 、hires.fix and vae is kl-f8-anime2.ckpt

4. Generate
Select a model and a LoRA, then generate.
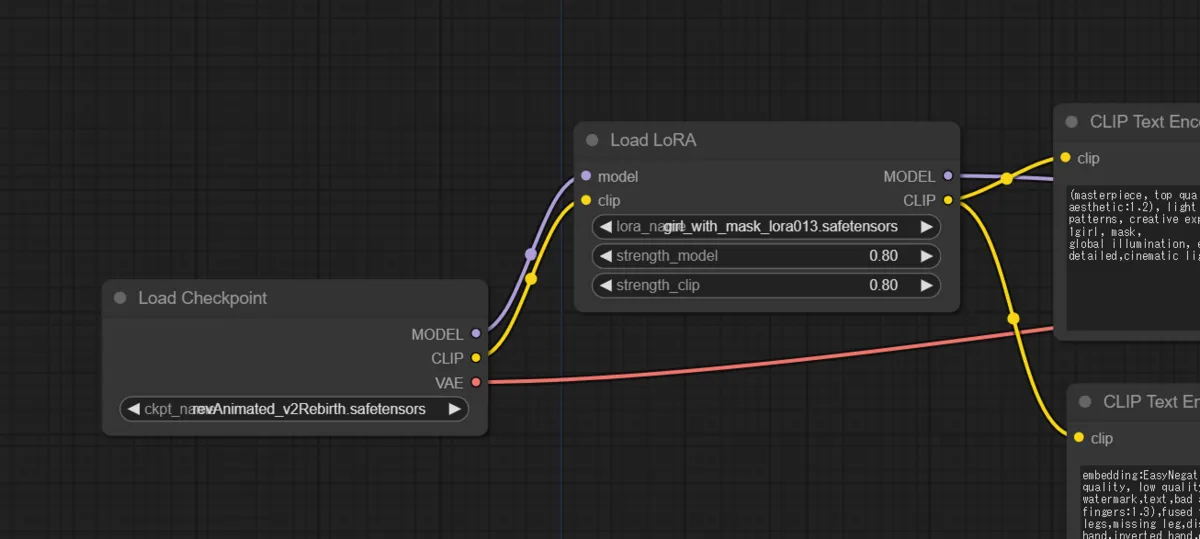
What are strength_model and strength_clip in the “Load LoRA” node?
Examples of ComfyUI workflows
You can adjust LoRA strength individually for the CLIP model (strength_clip) and the main model (strength_model). In a normal UI, LoRA strength is controlled by a single number, but in ComfyUI, since the learned concepts in the CLIP and MODEL/UNET parts are different, adjusting each separately can yield better images. For example, setting the strength to 0.8 sets both values to 0.8.
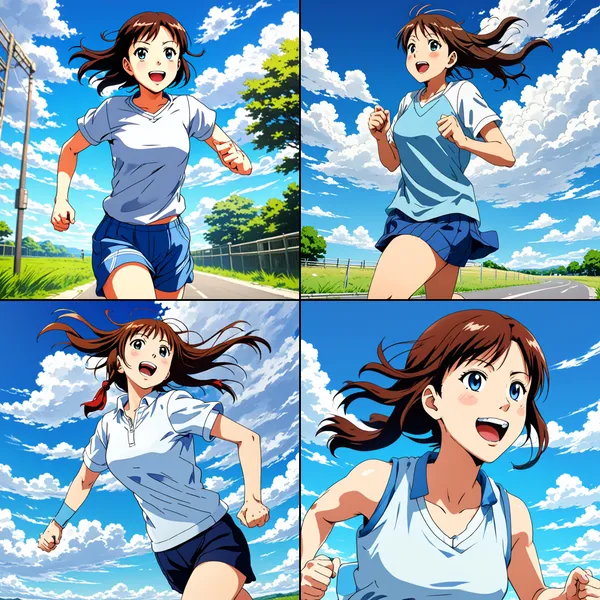
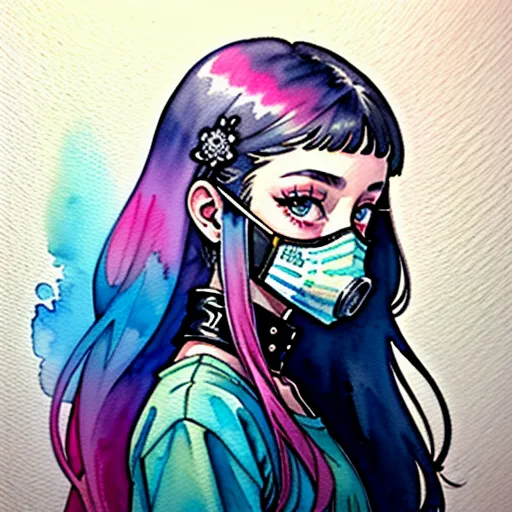
Generation Result

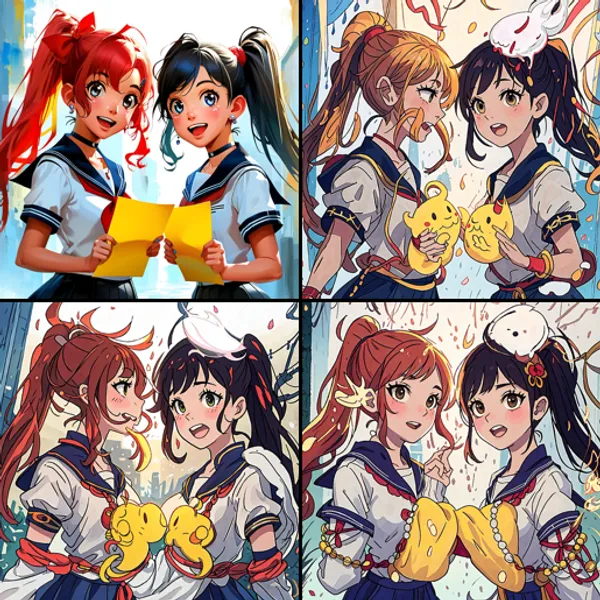
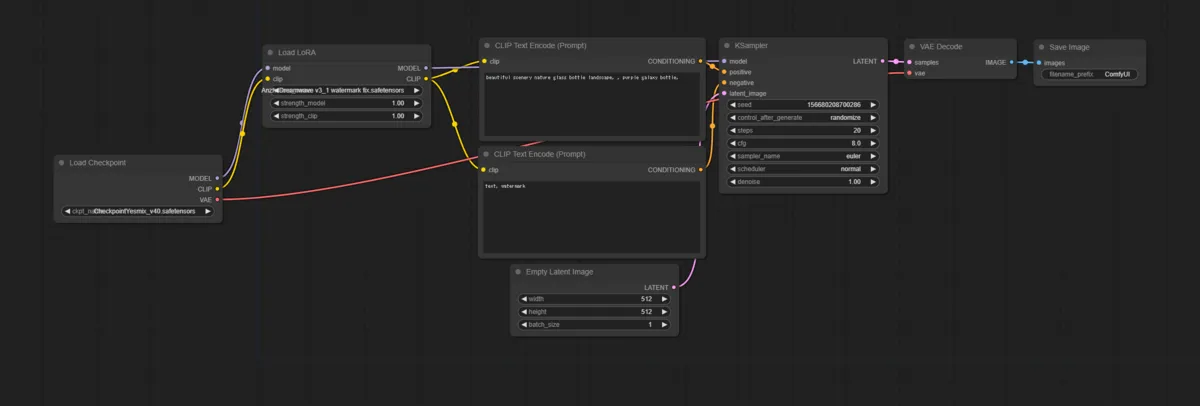
Using Multiple LoRAs
You can chain multiple LoRAs in series as shown in the figure below.
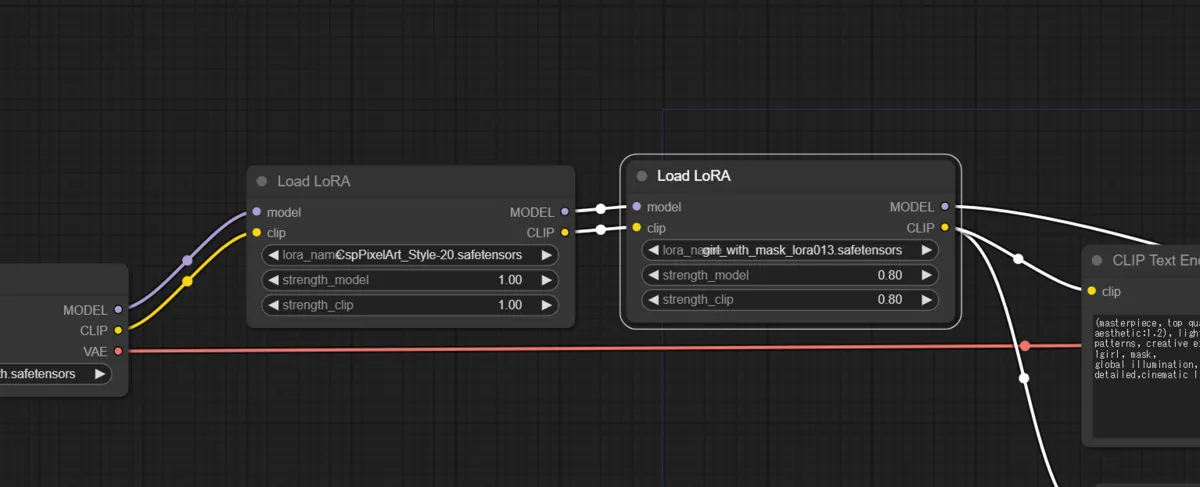
Here is the output when chaining a pixel art LoRA on top of the masked-woman LoRA used above.

Conclusion
Looking at the outputs, the style applied by the LoRA comes through fairly consistently.
I wanted to try training as well, but ComfyUI doesn’t support it, so I gave up on that for now. I’ve heard Kohya is a good choice for training — if I feel like it, I’ll try setting that up another time.
If you want to try other techniques related to image generation, please check out the link collection below.
>-