Outpainting in Stable Diffusion lets you draw new content outside the borders of an original image and extend it naturally. For example, if you have a photo or painting that has been cropped, Outpaint can automatically fill in what might surround the cropped area, making the expanded content look as if it was always there. It’s a useful technique for expanding a composition beyond its original frame without having to paint the new areas manually.
In this article, I explain the specific procedure for performing Outpaint with Stable Diffusion using ComfyUI.
Work Flow
1. Introduction of ComfyUI
Please refer to this article.

>-
2. Creation of Workflow
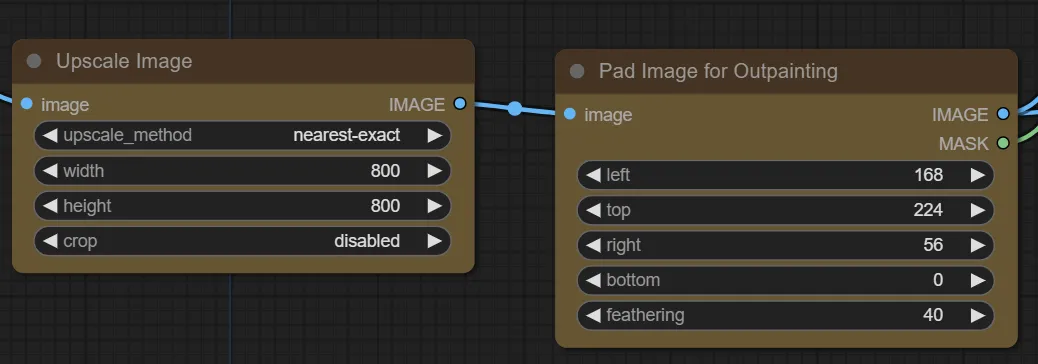
Load the default workflow, then add the yellow nodes as shown in the image below and connect them. The key nodes to add are Upscale Image, Pad Image for Outpainting, and the accompanying connections.
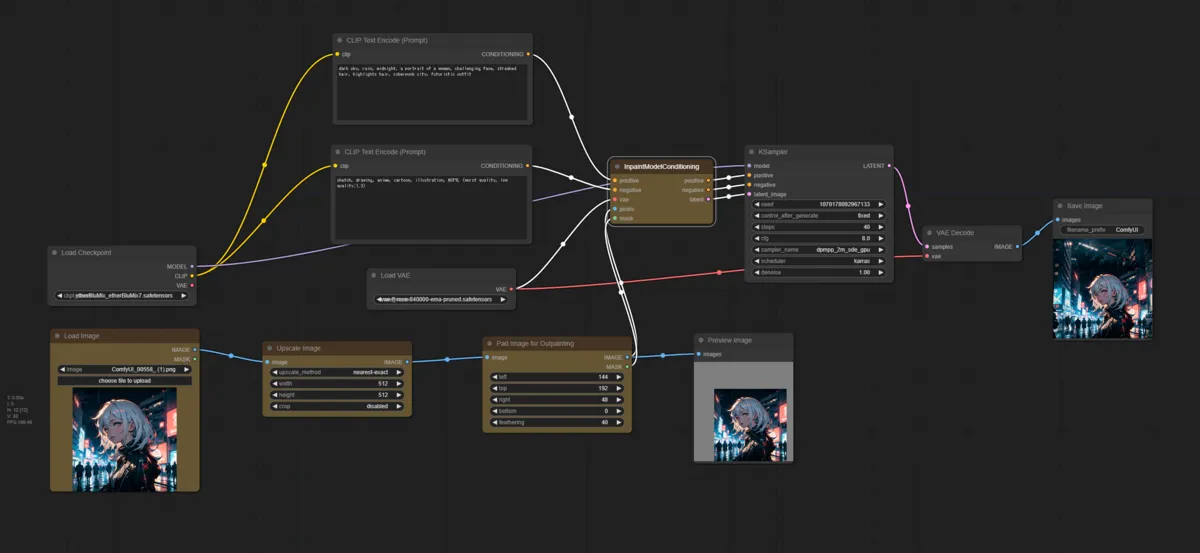

3. Decide Size and Shape of Image
Use the Upscale Image node and Pad Image for Outpainting node to set the parameters and determine the size and shape of the expanded canvas.
4. Generate
Describe what you want to appear in the Outpaint area in your prompt, then generate.
If the boundary between the extended area and the original image is too visible, try increasing the Feathering value or lowering the cfg.
Note: Feathering controls how much the boundary between the new and original areas is blurred, which helps the two parts blend together more naturally.
Generation Result
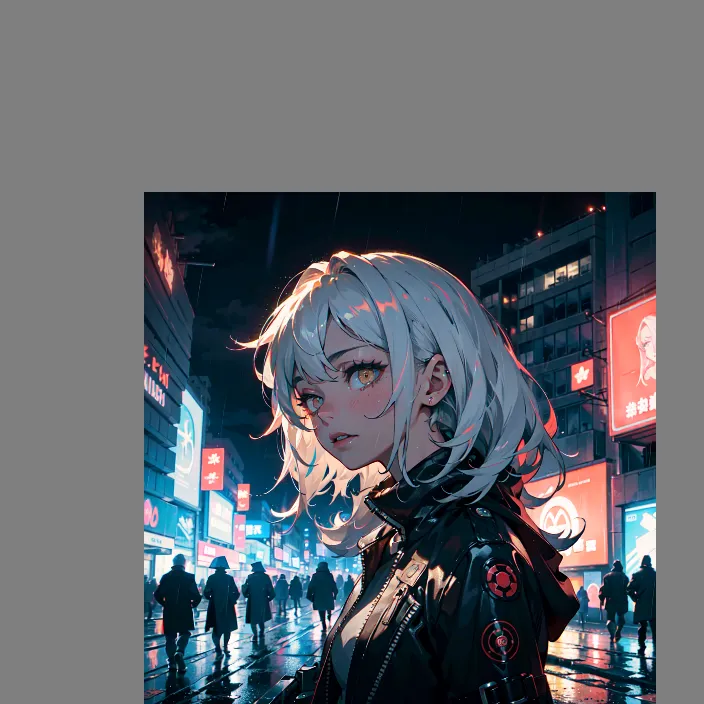
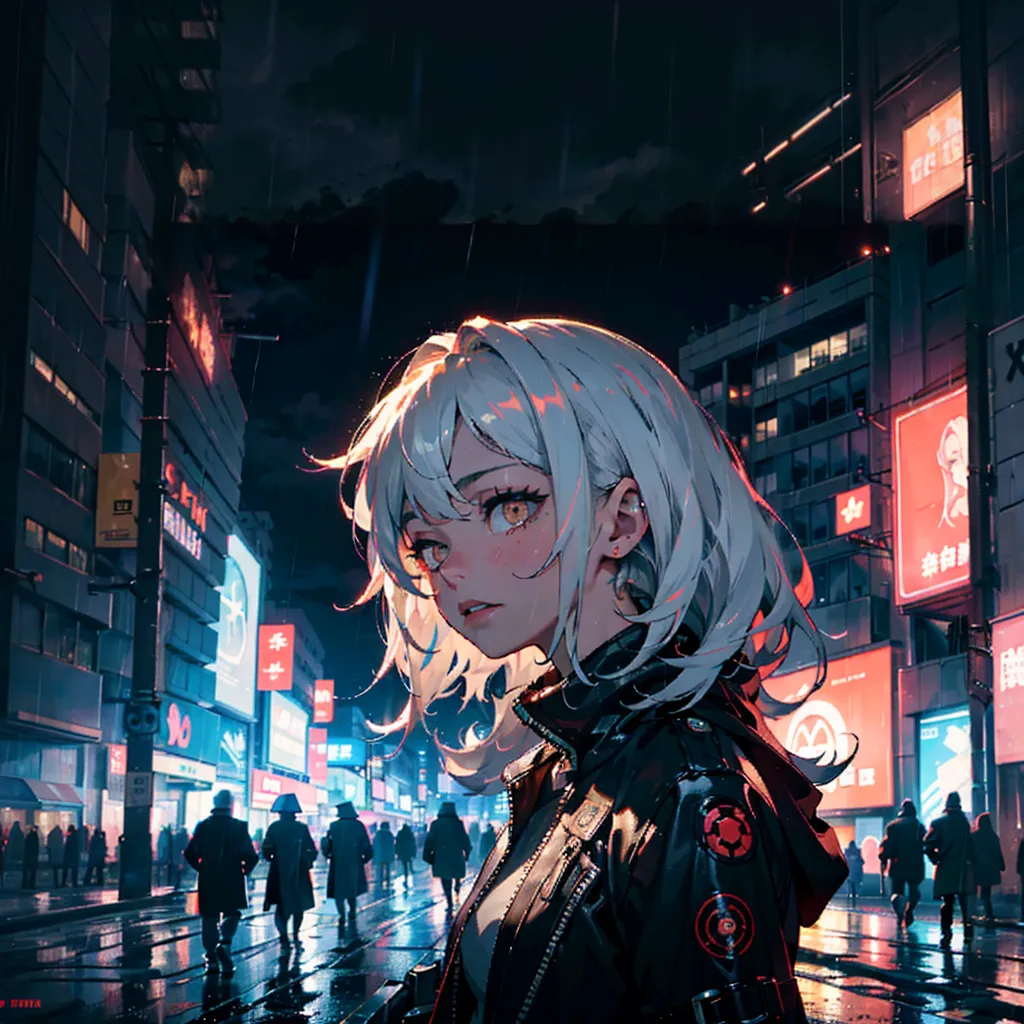
The image quality feels slightly degraded in the extended area, but the Outpaint result looks reasonably natural overall.
Conclusion
After trying it out, the most noticeable downside is that the quality of the existing part of the image can also degrade slightly in the process. That said, the ability to non-destructively expand a composition is quite useful. The key to getting cleaner results is to tune the Feathering and cfg parameters carefully.
If you want to try other techniques related to image generation, please check out the link collection below.
>-