There is a Stable Diffusion integration plugin for Krita, the free and open-source painting application. The plugin connects Krita to a local ComfyUI backend and enables real-time image generation from paint strokes — meaning you draw a rough scribble and the AI renders a polished image almost instantly as you paint. I decided to try it out to see how well it works in practice.
Setting Up Krita and the Plugin
1. Install Krita
Installation binaries appear to be available for each operating system.
Krita はプロフェッショナルな機能を持つ、自由かつ無料でオープンソースのペイントプログラムです。すべての人が入手できるアートツールが存在することを願うアーティスト達によって開発されています。

2. Download the Extension for Stable Diffusion
First, download krita-ai-diffusion from below. The latest version should be fine unless you have a specific reason to use an older one.
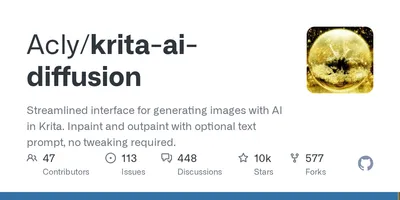
Streamlined interface for generating images with AI in Krita. Inpaint and outpaint with optional text prompt, no tweaking required. - Acly/krita-ai-diffusion

3. Install the Extension for Stable Diffusion
Import the downloaded zip from Krita’s UI, then restart Krita.
- Tools > Script > Import Python Plugin from file

4. Open a Drawing Canvas
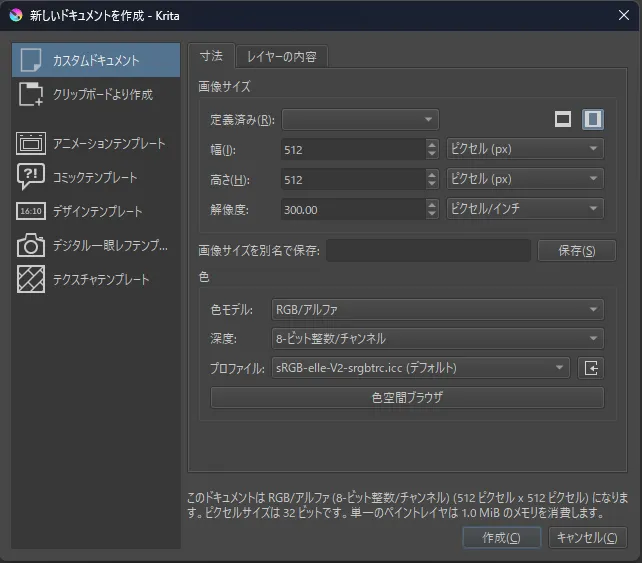
The settings screen cannot be opened unless you are in the drawing screen, so open a “New Image” screen first.
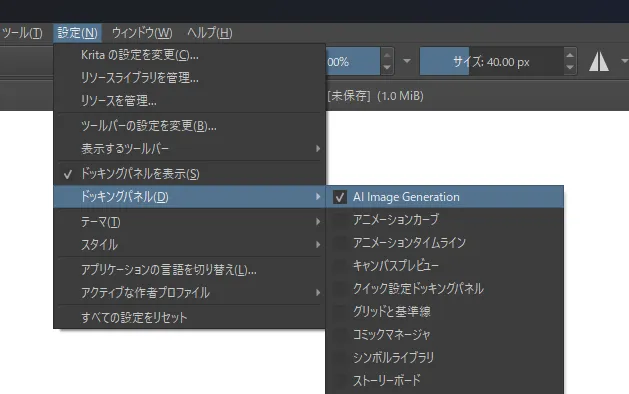
5. Display the Stable Diffusion Panel
The AI generation panel is not displayed by default, so you need to enable it.
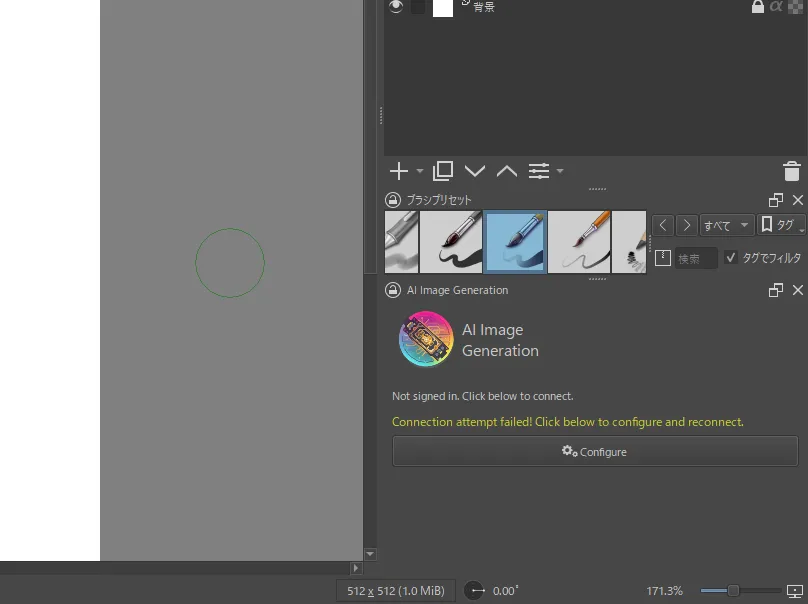
You’re good once a panel like the image below appears at the bottom right. Click Configure to open the settings screen.
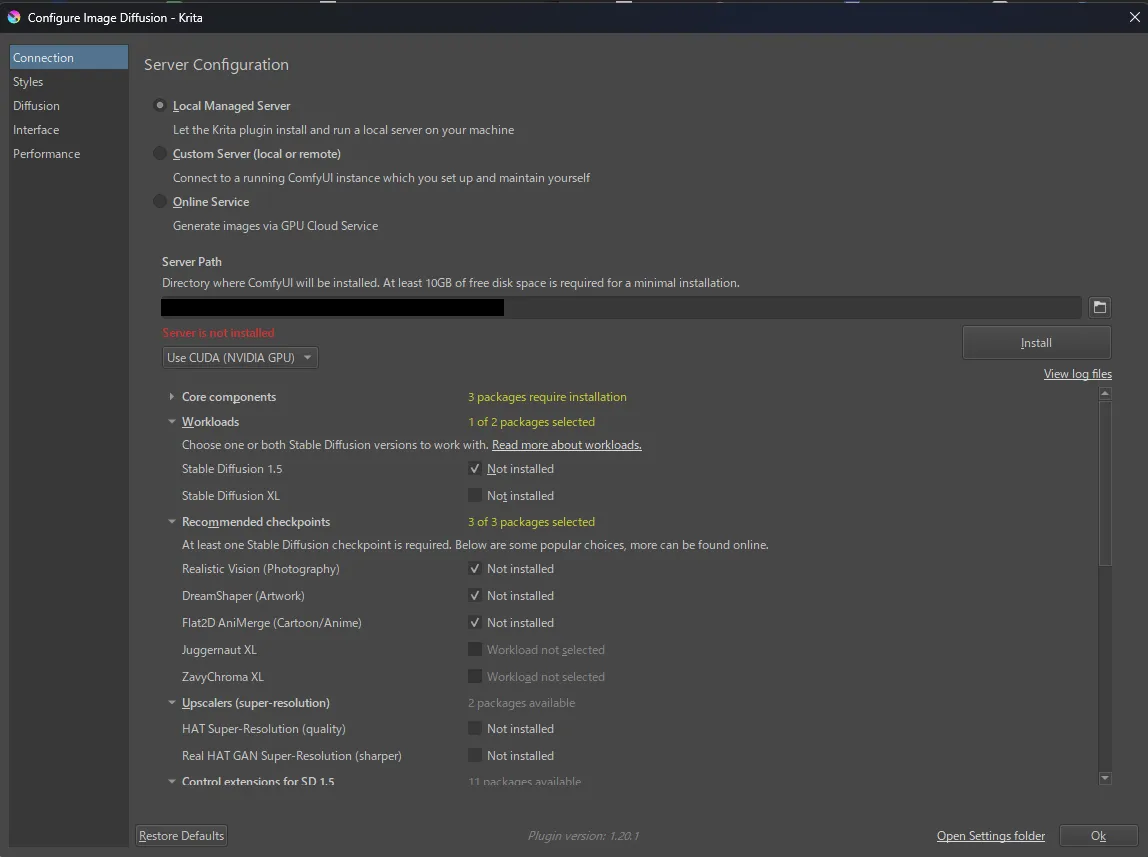
6. Install the Server and Model for AI Generation
Click “Local Managed Server” and then click the Install button that appears.
The SD1.5 and CLIP models are also installed at the same time, so this may take a while.
Try Generating
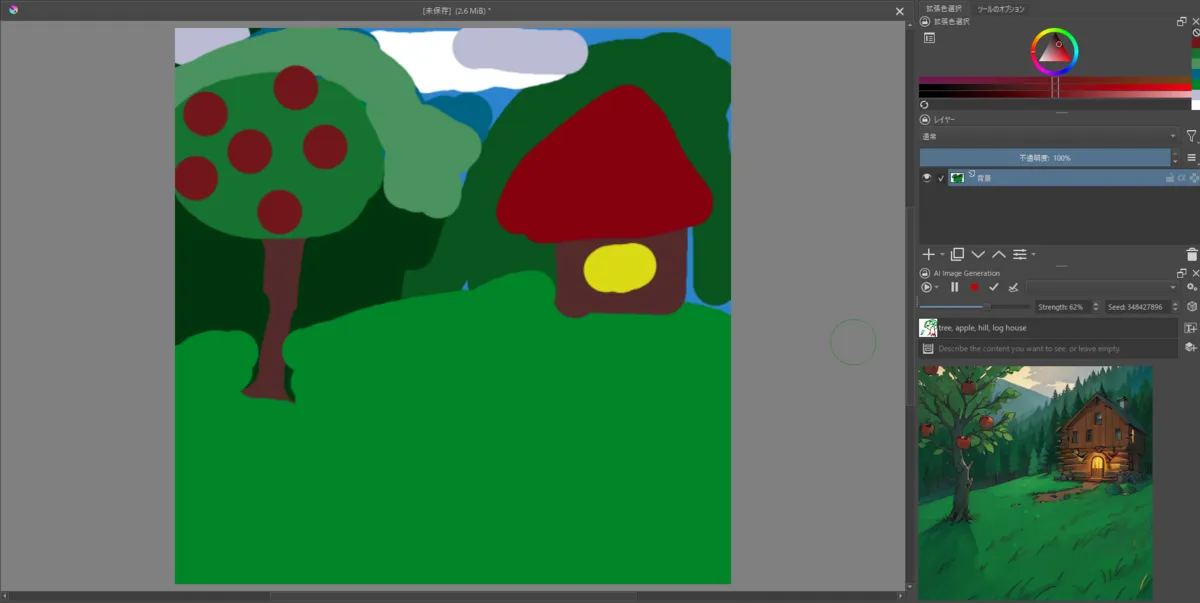
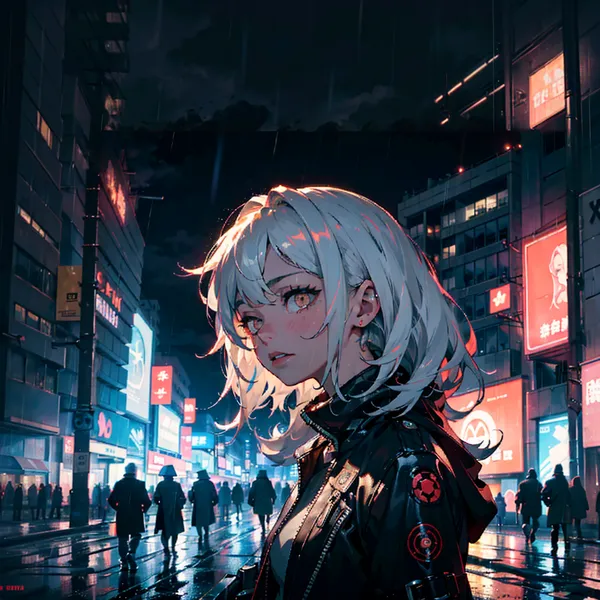
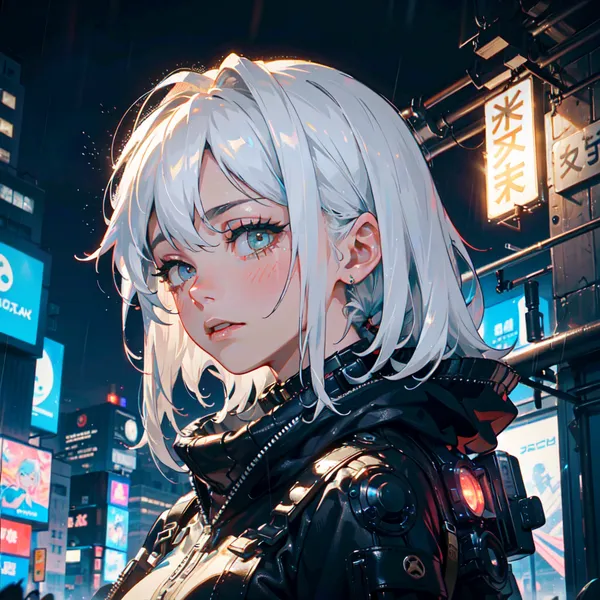
Let’s try real-time generation. I’ll use the Flat2D-Animerge model that gets installed by default.
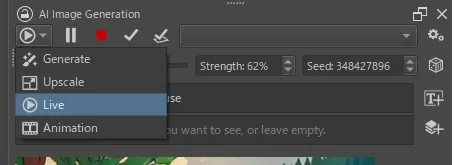
Display the real-time generation feature using the Live button shown in the image below, then start Live Preview by clicking the play button.
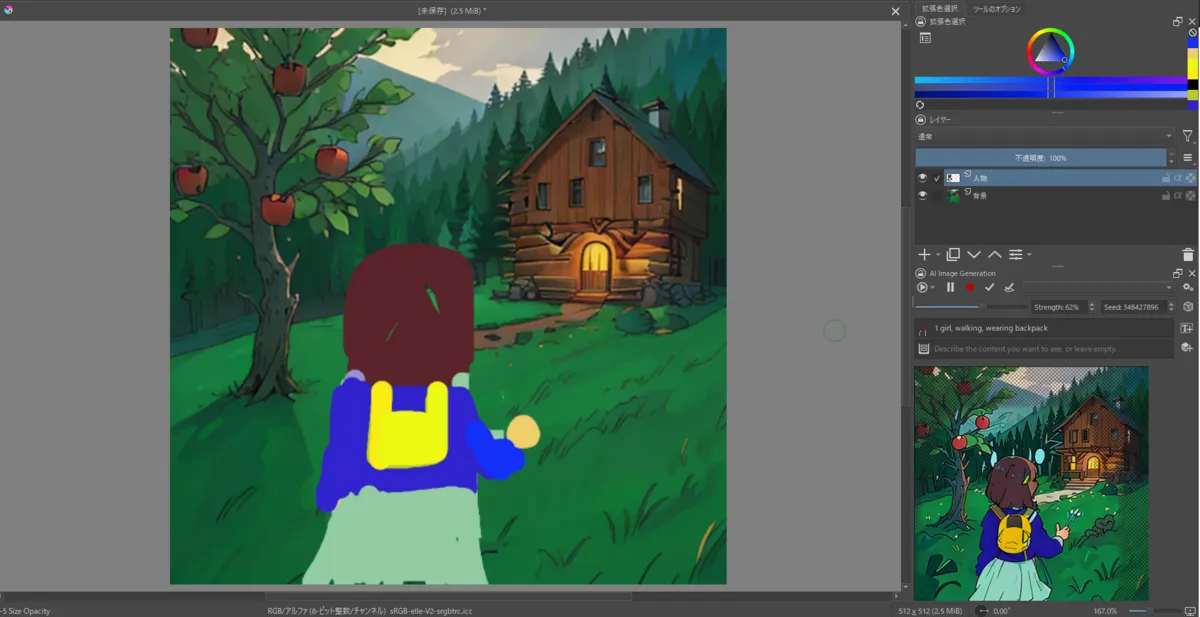
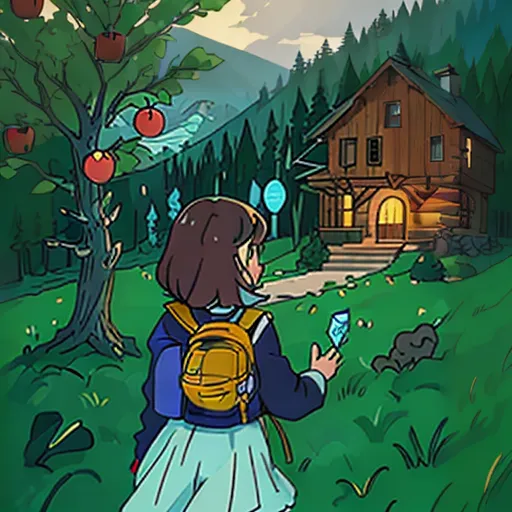
Generation Result
I’m not very familiar with this kind of paint tool (especially layers), so I compromised a bit, but I think the results turned out reasonably close to what I had in mind.