“I want to try WordPress, but I don’t want to mess up my OS by installing PHP and MySQL directly…”
Have you ever felt that way? I definitely have. As an engineer, I prefer keeping my environment clean and having the ability to spin up (and tear down) services in seconds. This is where Docker becomes your best friend.
In this guide, I’ll show you how to launch a local WordPress environment at light speed using Docker. Whether you’re a beginner or just looking for a sandbox to test themes, this procedure is for you.
Why Use Docker for WordPress?
While tools like XAMPP or MAMP were popular in the past, Docker is the modern standard for several reasons:
- Environmental Isolation: Deleting a container leaves your OS completely untouched.
- Portability: The same command works the same way on any machine with Docker installed.
- Ease of Switch: You can run multiple instances of WordPress simultaneously just by changing the port numbers.
3-Step Launch Guide
Setting this up is surprisingly simple. We’ll follow these three steps:
- Install Docker
- Run the commands
- Access WordPress via your browser
1. Install Docker
If you haven’t already, download and install Docker Desktop from the official site.
Docker Desktop is collaborative containerization software for developers. Get started and download Docker Desktop today on Mac, Windows, or Linux.

2. Running the Commands
Open your terminal (PowerShell, iTerm, etc.) and run these commands in order:
# Create a network so containers can talk to each otherdocker network create wp_net
# Start the Database (MySQL) containerdocker run --name db --net=wp_net -e MYSQL_ROOT_PASSWORD=test -e MYSQL_USER=test -e MYSQL_PASSWORD=test -e MYSQL_DATABASE=database -d mysql
# Start the WordPress container (Mapped to port 8080)docker run --name wp -p 8080:80 --net=wp_net -d wordpress
The docker network create part is crucial. It allows the WordPress container to find the database container using the name db.
3. Accessing WordPress in Your Browser
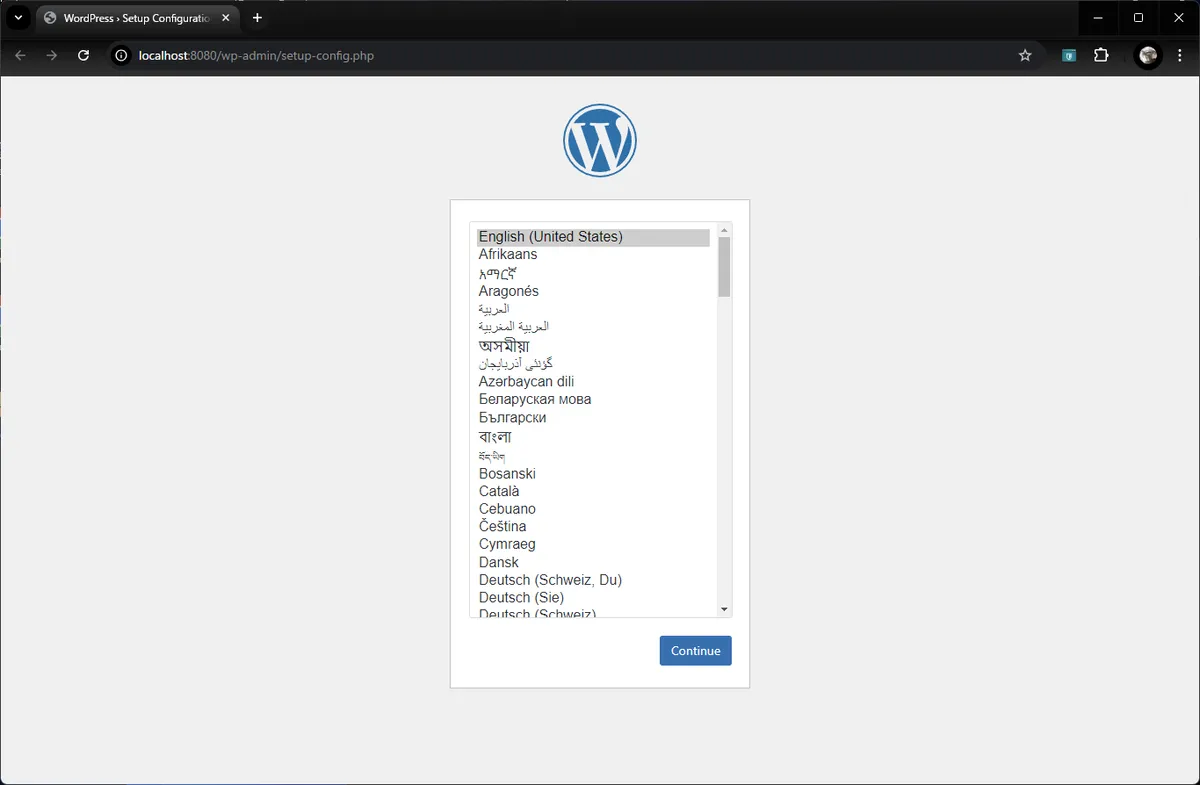
Wait a few seconds after the commands finish, then open your browser and go to:
http://localhost:8080/
If you see the language selection screen, you’ve successfully launched your containers!
Initial Setup
Follow the on-screen instructions to finalize the installation.
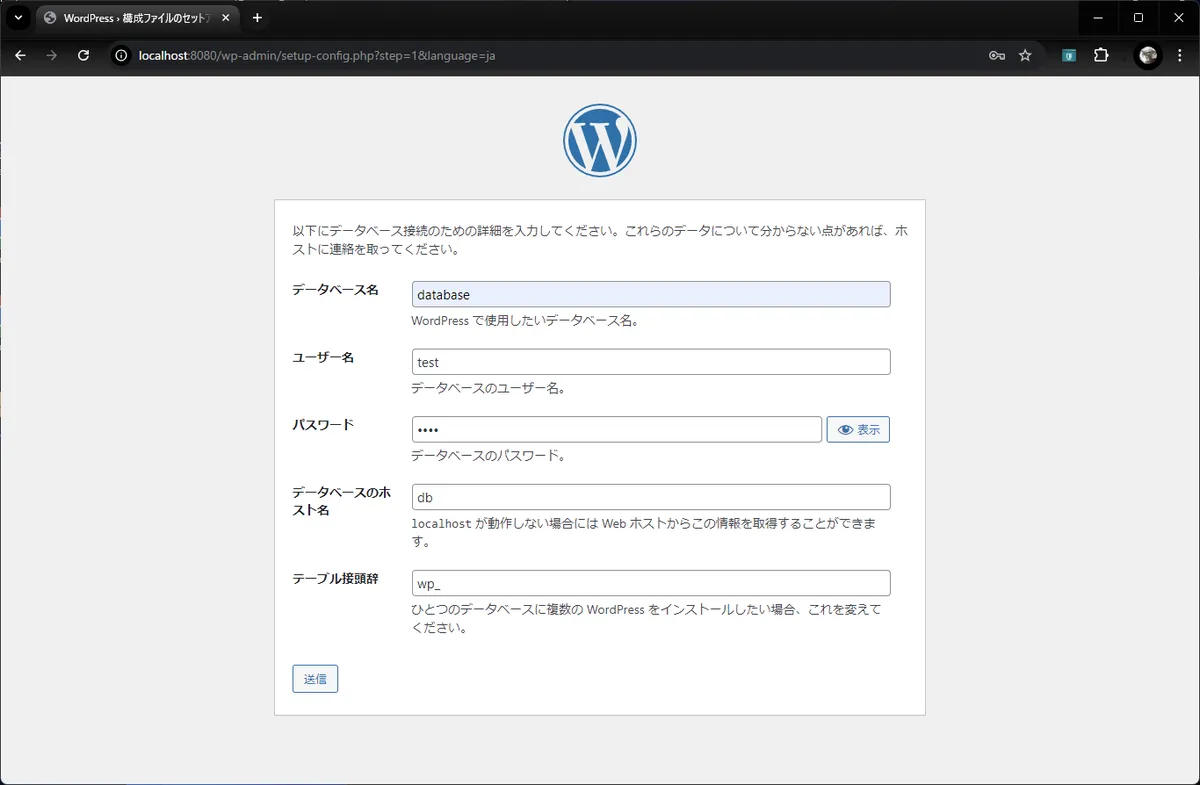
Database Configuration
Enter the values used in the docker run commands earlier:
- Database Name:
database - Username:
test - Password:
test - Database Host:
db(This works because of the Docker Network we created)
Site Information
Next, create your admin account and site title.

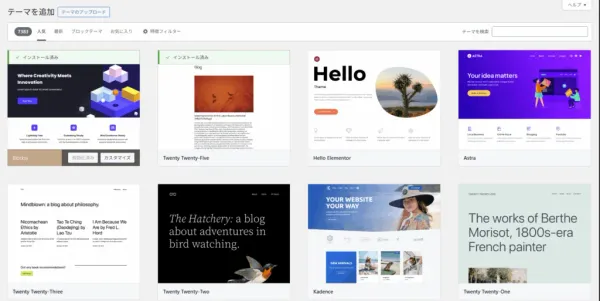
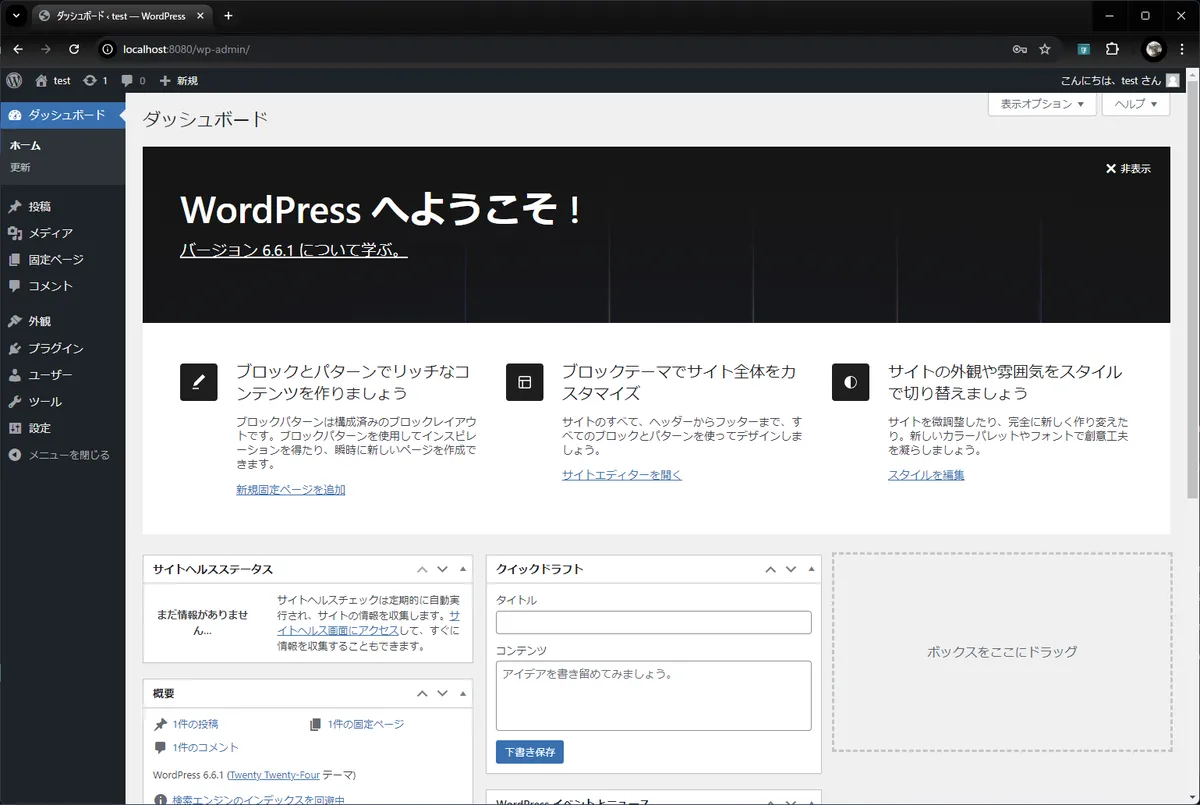
Login and Explore
Log in with your new credentials.
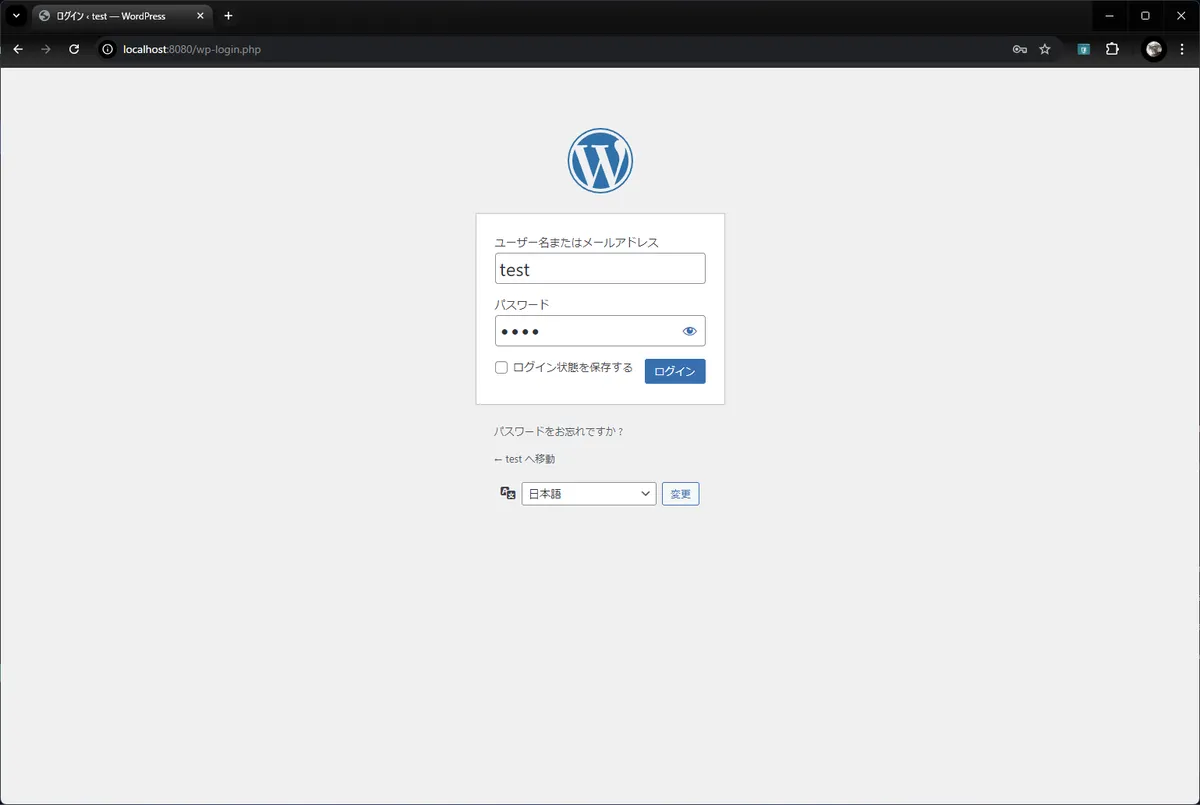
Once you see the dashboard, you’re all set! You are now free to experiment with plugins, themes, and content without any permanent consequences.
Cleanup (Deleting Containers)
When you’re done playing, it’s good practice to delete the containers to free up resources.
Note: Deleting containers will delete all posts and settings made within that instance. Think of this as a “disposable” test environment.
In Docker Desktop, you can simply click the trash can icon.

To do it via the command line:
docker stop wp dbdocker rm wp dbdocker network rm wp_netConclusion
Docker removes the friction of “environment setup,” allowing you to jump straight into the fun part of web development.
It’s the perfect method if you’re hesitant to try things on a live site or if you’re just curious about WordPress. If you want to take it to the next level, I suggest looking into docker-compose next—it will make managing these multi-container setups even easier!