In the previous article, I configured an “Incus” cluster. As a sequel, this time I will create an Incus instance. Leaving Incus installation procedure to the article before last, this time I will go until making an instance holding minimum functioning features.
Note that since this is a method using GUI, it is an article for those installing zabbly version of Incus.
Previous Article ↓

>-
Create Network
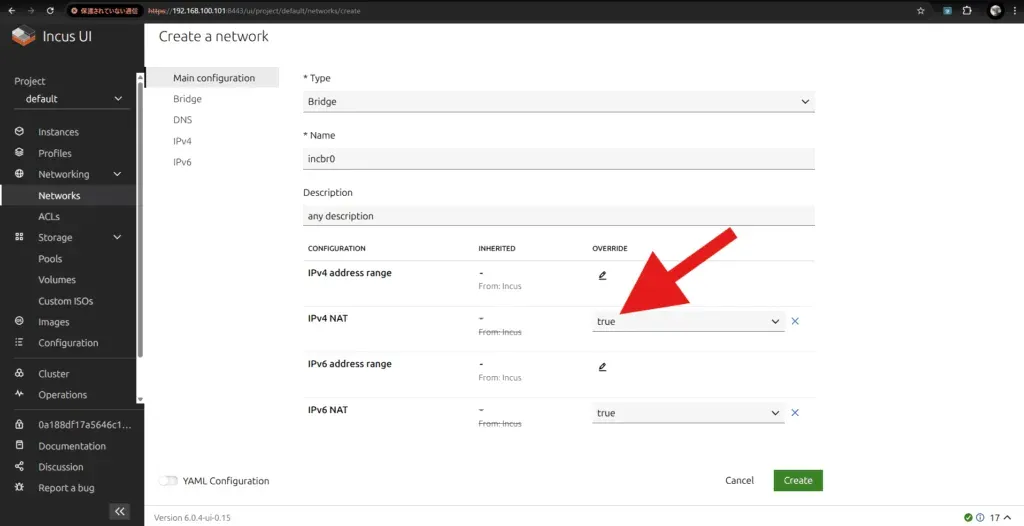
First, create a network to attach to the instance. Since “Anything works as long as it runs” is OK this time, I will configure a simple Bridge network. (If updated network was created during incus initialization, skipping here is fine)
In “Create Network” screen, set Type: Bridge and Enable NAT to create.
(NAT might be on by default in Incus, but setting explicitly just in case)
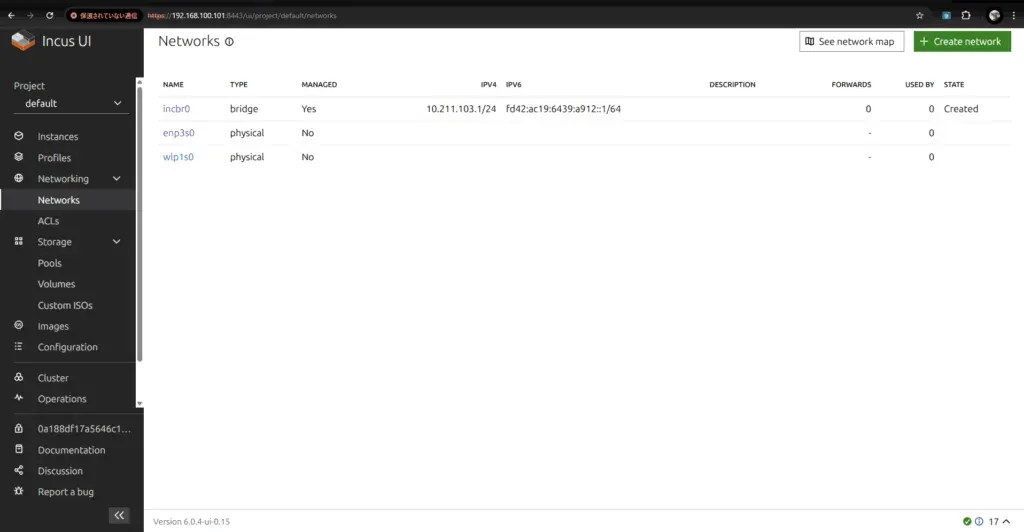
If State: Created in network list screen, success.
Instance Settings
Next is instance settings. Since it’s “Minimum works is fine” configuration, defaults are basically OK except image and network to use.
First, select an image. Incus has a browser where you can search images, and it handles download etc. automatically, which is very convenient.
Be careful with TYPE here. There are images for KVM and for Containers, so choose one matching your usage. In case of TYPE: any image, you will choose KVM or Container at instance creation.
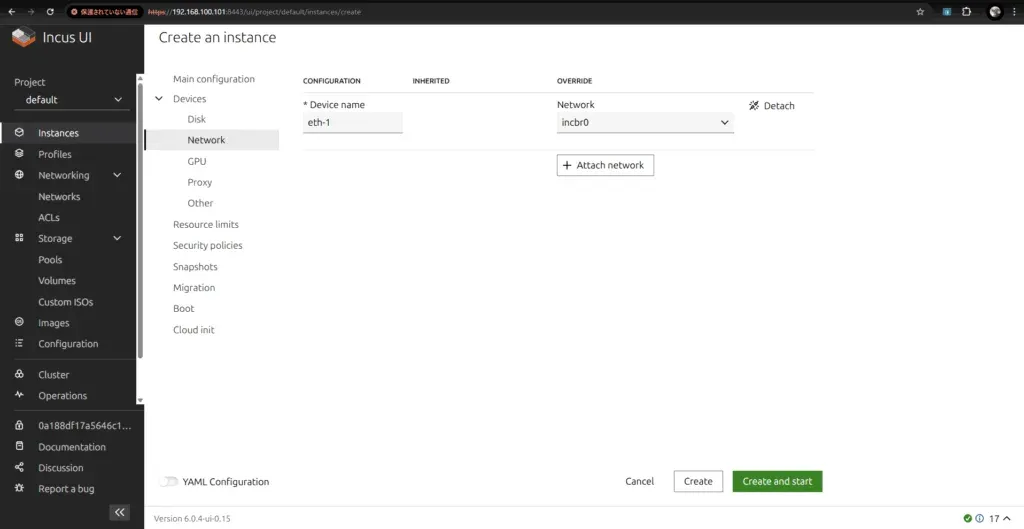
Next is network settings. Here select the Bridge network created earlier.

Note: Be careful, forgetting this might result in instance unable to connect to network!
Try Running the Instance
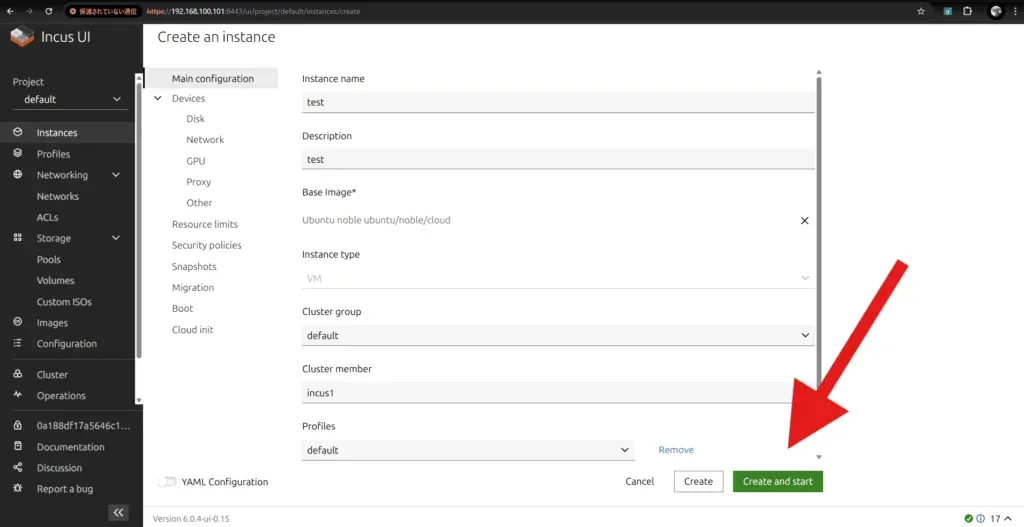
If you came this far, minimum preparation is complete. Let’s create the instance immediately.
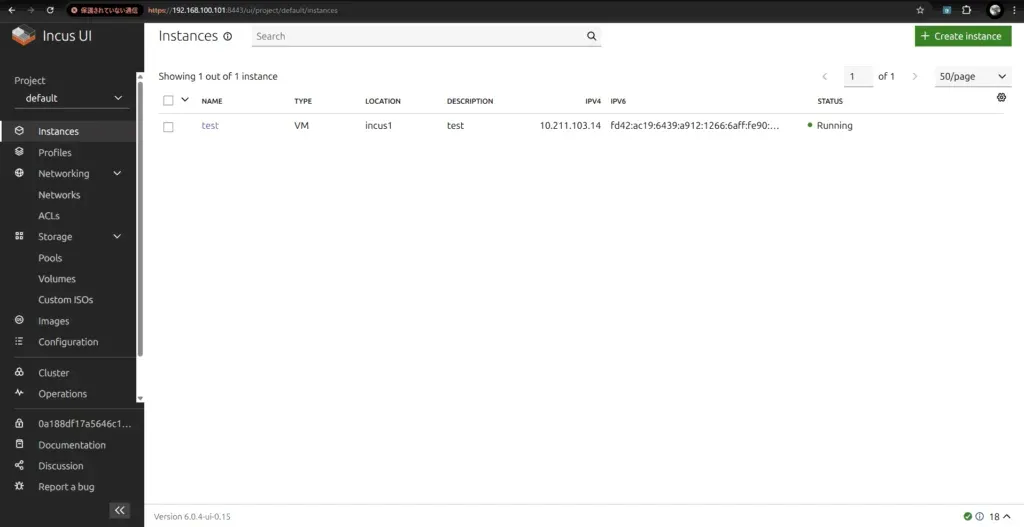
If status becomes RUNNING and IP address comes down properly, success!
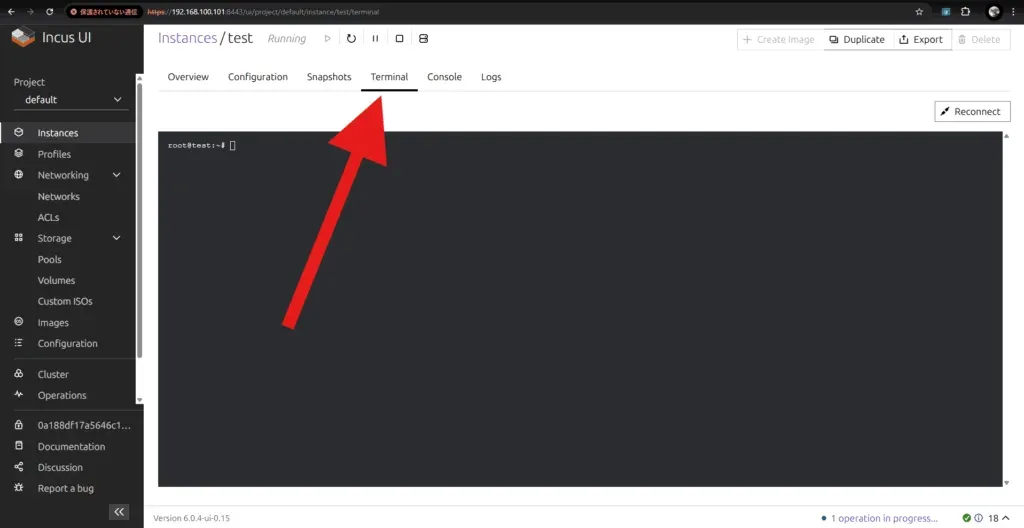
Finally open terminal and try apt update etc., if unable to connect to network, it’s perfect.
Conclusion
In this article, I introduced up to making a minimally working instance using Incus GUI. It worked surprisingly smoothly, so it’s a very good feeling as a first step. I think I will utilize profiles etc. if I want to commonize settings further from here.
Since connection to instance from outside is not possible currently, next time I will consider methods to join the instance to physical network.
See you!